Colorful Designs On Dark Mugs With The UNINET IColor 560
Coffee mugs are indeed one of the most popular blanks to customize with sublimation. Yet, it’s possible to turn these mugs into custom items through other means, and beyond the poly-coated white mug. If adhesive sticker vinyl isn’t doing the job for you in this case, white toner printers like UniNet’s IColor 560 are ready to print full color transfers that can truly hold onto hard surfaces. Whether you’re using UniNet’s own hard surface paper, TheMagicTouch CPM, or Forever Multi-Trans, there are plenty of options to bring vivid designs over to dark and colored coffee mugs with top quality and longevity.
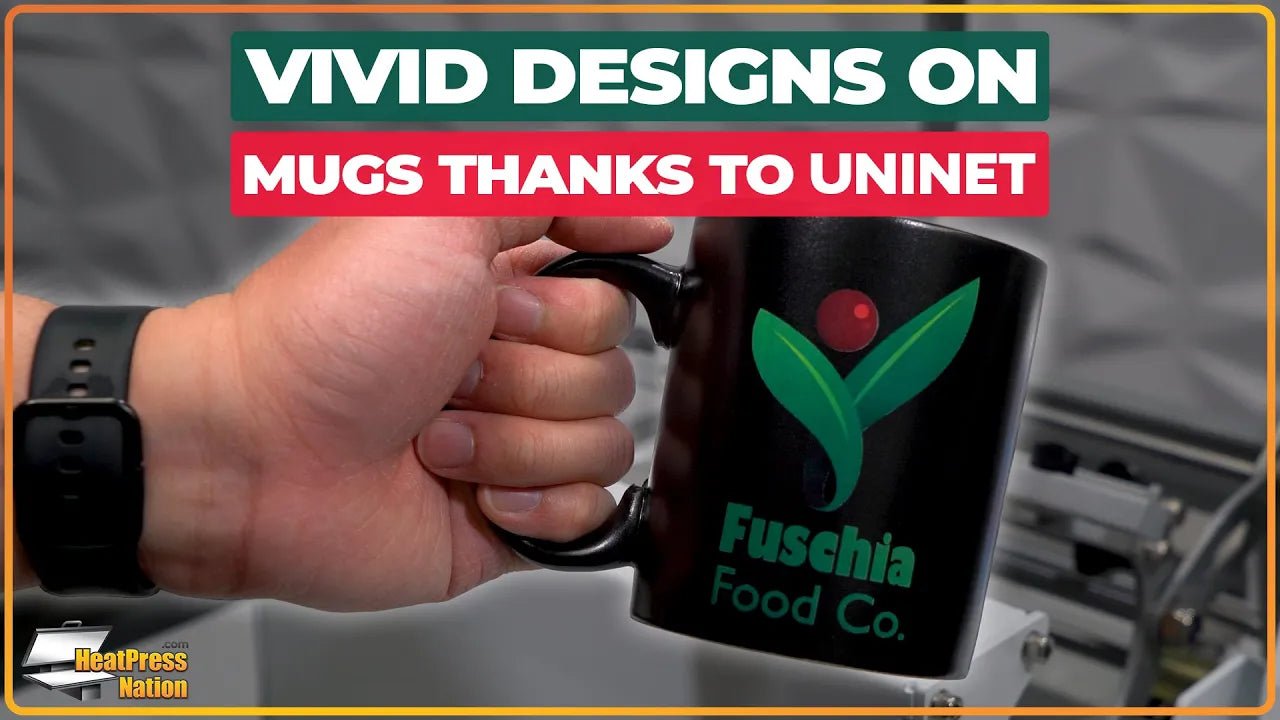
For this video, we’ll be showing how a sleek design, printed with Forever Multi-Trans on UniNet’s IColor 560, can be applied onto a black ceramic mug. And as our mug is of a standard 11 ounce form factor, we can go ahead and use the template available for mugs of this size at HeatPressNation.com. By also adding in a 5-inch wide rectangle to the center of the template’s boxes, you’ll be able to perfectly center graphics to its left and right edges for the respective sides of the mug. Once you’ve prepared your design to the template’s bounds, it’s now ready to print.
As this needs to be printed through UniNet’s ProRIP software, we’ll export the design as a 300 DPI PNG image to import to ProRIP. If installed, you can also send the design to print through an “iColor 560 Overprint” queue setup through ProRIP. Either method should have your design in the printer’s Overprint queue, which you’ll then select to change its Print Mode to any “UNINET IColor Hard Surface” print mode suiting your item. Next, configure the following settings: paper size to “Letter”, Output Quality to “Best Quality”, and Paper Type to “Thick2 to 163g”. Lastly, right click on the queued image and click Properties. In the Color Layer tab, select Processing Options and change “Color boost graphics” to around 20 to 40.
To preview any changes, you can regenerate the preview image to see your results. You can also click the “Create Print Mode” button to save your configuration for similar future Multi-Trans prints. But once you’re settled, you may go ahead and print the design through your IColor printer. With the transfer printed, trim around the design's edges, center and wrap it around the mug, attach both its left and right edges with heat tape, then it’s all ready to be pressed. Before proceeding however, this would be a good time to test press the mug in adjusting the machine to firm pressure. Now let’s turn on the mug press and set it to 180 seconds at 284 degrees Fahrenheit. And once it reaches temperature, go ahead and slide your mug inside the heating element to press it.
After 180 seconds, open the machine and allow the mug to reach warm or cold temperatures for a moment. Once ready, smoothly peel the transfer from a corner and it’s now been permanently applied to your dark mug! With the right material ready, you’ll not only be able to print mug transfers with the IColor 560, but transfers for insulated water bottles or travel mugs, wood panels, paper bags, and more. The option to print sublimation transfers with this versatile printer is possible as well, as long as UniNet’s own dye sublimation toner cartridges are installed. To learn more about UniNet printers, Forever papers and other tools and supplies, you can check out our YouTube channel, or visit us at HeatPressNation.com.

1 comment
When I print a dark blue, it disappears on the mug, it doesn’t seem to have a white background. When I use color boost it does print, but the color is significantly changed to more of a light blue. Thoughts?