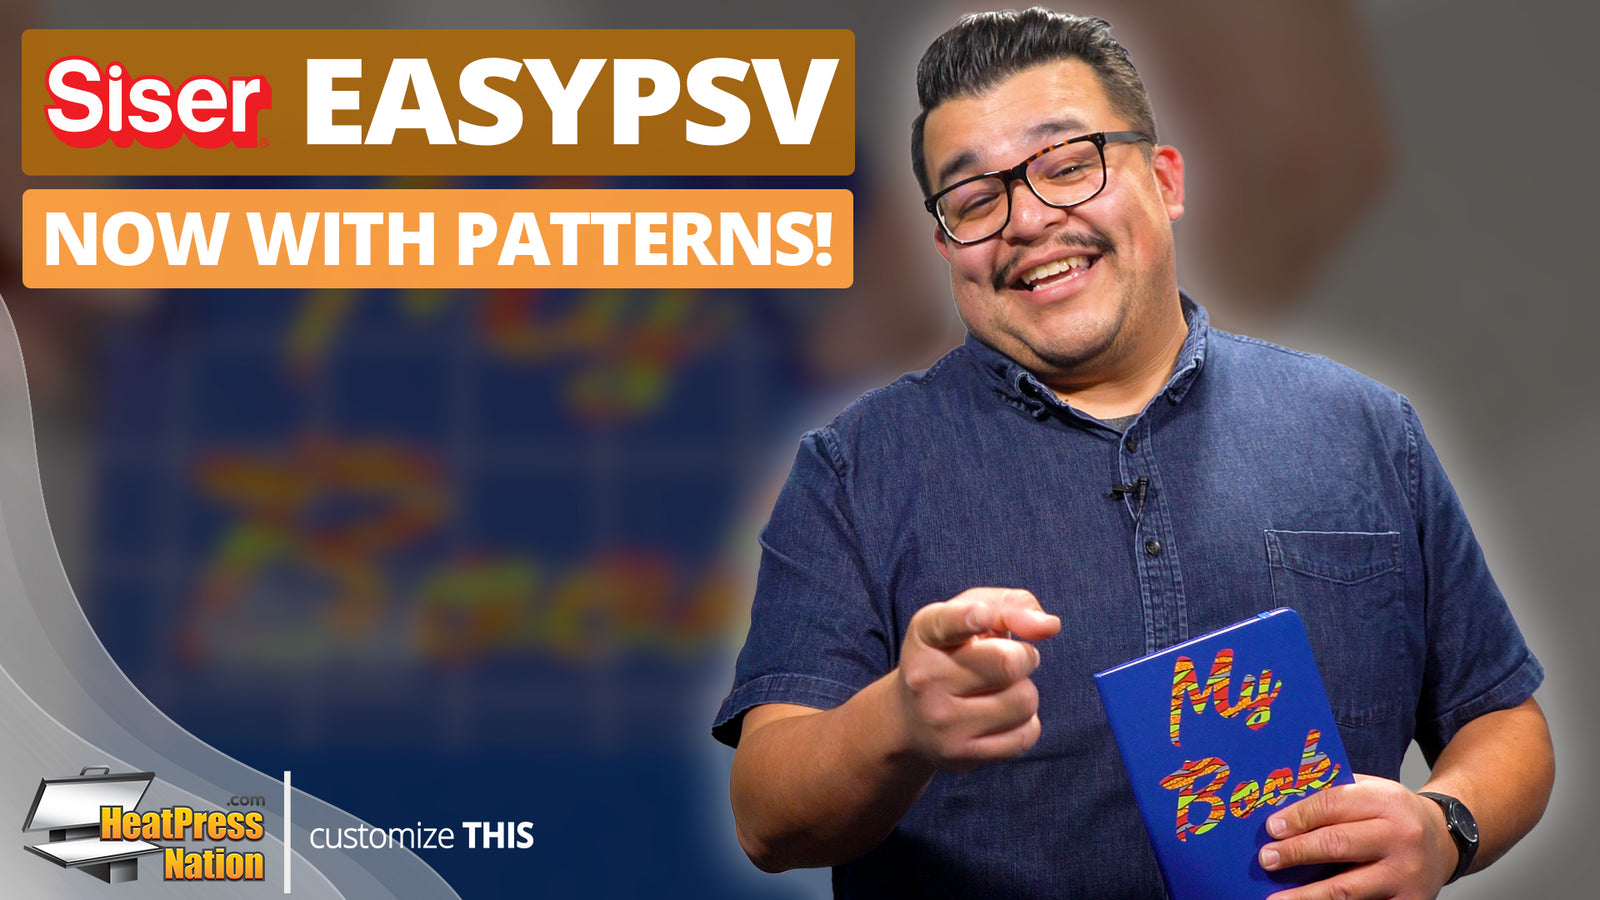
Siser’s EasyPSV adhesive vinyl is better than ever, with their new line of colorful EasyPSV Patterns! I’ll be showing you how simple it is to apply it onto a notebook from start to finish. Now stick around, as we’ll CUSTOMIZE THIS!
Siser EasyPSV comes in a wide variety of beautiful colors and styles. But there are some special projects that need an extra bit of flair! Siser now has you covered with EasyPSV Patterns! As the name implies, these beautiful patterned sheets are super EASY to apply onto a limitless variety of items. Previously available on the EasyPatterns HTV line, the new EasyPSV patterns come in popular designs as Buffalo Plaid, Mermaid Scales, and more. These incredible vibrant patterns will make your decals truly stand out.
As with the other editions, Siser EasyPSV Patterns are ready to be applied on smooth, hard surfaces like glass, finished wood, plastic, metal, and ceramics. This means you can apply EasyPSV patterns just about anywhere you’d place a sticker - like cars, storage cases, signage, and windows! For this video, we’ll be demonstrating how text cut with EasyPSV Patterns can be applied on a notebook - using the crafter’s favorite, Silhouette Cameo. First, launch your cutting software on your computer to create the text outlines to cut with your machine. For Silhouette cutters, open Silhouette Studio and use the Text tool to create the outlines. Simply type in your line of text, change its size accordingly to fit within your item’s dimensions, and draw a weed box around it once you’re finished.
With the text now ready to cut, go ahead and load your sheet of EasyPSV Patterns into your cutter and cut the text. You can refer to Siser’s website at SiserNA-dot-com to find EasyPSV cut settings for several popular machines. For Silhouette Cameo cutters, you can use the “Vinyl, Glossy” material preset on Silhouette Studio - with the blade depth set to 2, force to 7, and speed to 8. Before cutting your text, we recommend completing a test cut first to ensure these settings will work for you, or if you’ll need to refine them further for your specific setup. Once you’re all set, go ahead and click Send to cut your text.
With your text now cut, trim and weed the EasyPSV sheet, then use EasyPSV Application Tape to lift the text out of its carrier sheet. To do this, trim enough tape to cover the size of your cut vinyl, peel it from its carrier sheet, apply it onto your EasyPSV, and squeegee it on top of the vinyl. As a tip, you can use the gridlines of EasyPSV Application Tape to align your transfer beforehand. Lift the tape up by a corner in a smooth motion, and you’re now ready to apply your EasyPSV decal onto a solid surface! Simply apply it onto the item with the application tape, squeegee it once more, then peel the tape off by a corner like before. Congratulations - you’ve now applied a colorful decal onto your item using Siser EasyPSV patterns! If you’d like, you can even apply additional layers of EasyPSV using the same steps for even more fun.
If you’d like to share your latest EasyPSV Patterns projects with us - plus a large community of customization enthusiasts - our HeatPressNation Creators Facebook group is always open at heat.press/FBgroup. By joining this group, you’ll also be able to find and share helpful advice within our friendly community. To learn more about Siser EasyPSV Patterns and other materials, visit our website at HeatPressNation.com. For any questions, you can always get in touch with a MyExpert representative at support.heatpressnation.com.


1 comment
Tienen atención en español?