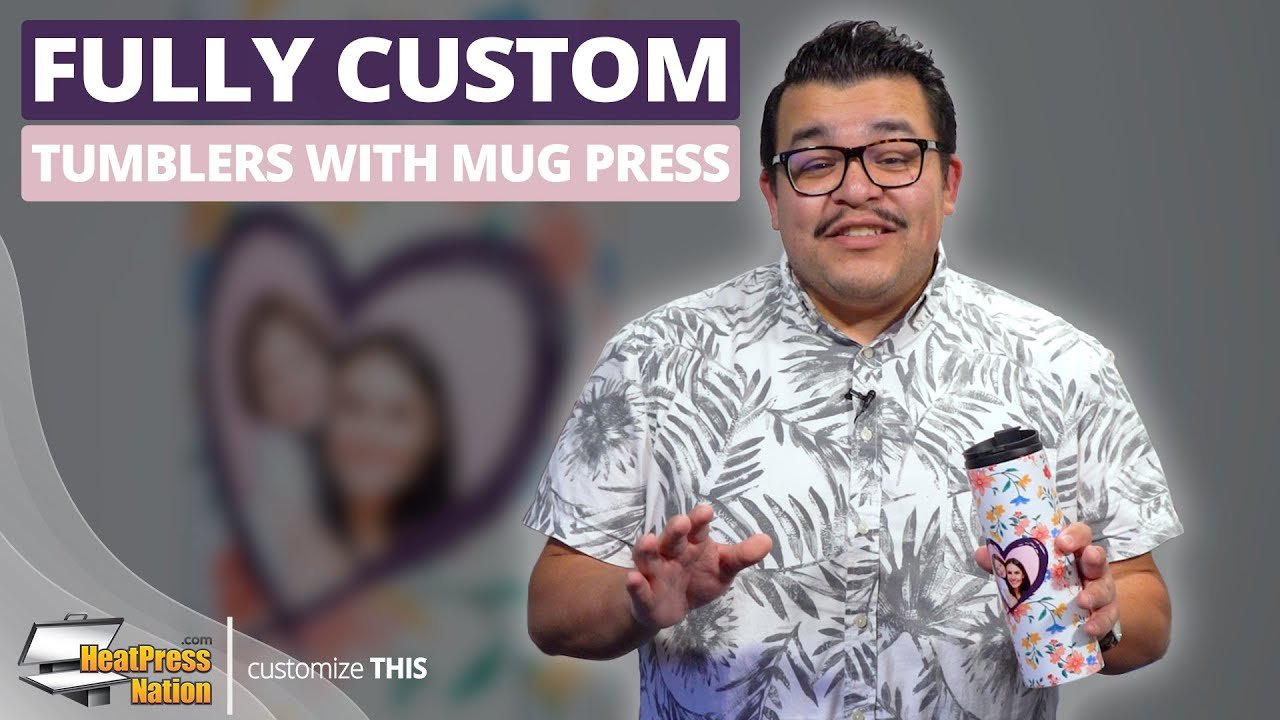
How To Fully Personalize Sublimation Skinny Tumblers
If you’ve been customizing skinny sublimation tumblers for a while now, you may have been limited to either a dedicated oven setup, or with applying small graphics to them with a standard mug press. Fortunately, it’s now possible to personalize them with full-bleed transfers on the HPN Signature Series mug press!
While customizing sublimation tumblers with a dedicated convection oven and oven wraps is a perfectly fine process, perhaps you don’t have the budget, space, or time to accomplish so in your work space. But now with HPN’s popular Signature Series mug press, you can turn it into a tumbler press with the tumbler heating attachment! Available with the new 2-in-1, 4-in-1, and 7-in-1 machines, this attachment is the next best option for applying large, full-width transfers onto 16, 20, and 30 ounce sublimation tall tumblers, also known as skinny tumblers.
To begin, you’ll need to first prepare your graphic to fit within the imprint area of the tumbler. If you’re working with a 16 ounce or 20 ounce tall tumbler, you can use our Photoshop templates available in the description. These templates are readily-sized to the imprint dimensions of the Orca and SubliCraft tumblers, and even have guidelines to give you a better idea of how to arrange the elements in your graphic.
Just a few tips before you prepare your graphic: to prevent accidentally moving the guidelines, it’s best to make sure they’re locked or hidden before proceeding. As the cutoff area in the template refers to extra bleed for your graphic, we recommend having your background or large image stretch past this area. If you’d like to perfectly place your graphic’s elements on two sides of your tumbler, you can simply move them to the centers of the left and right crossing guidelines. Finally, for the 20 ounce SubliCraft tumblers, you’ll need to keep the top and bottom hard cuts in mind when both creating your graphic and wrapping the printed transfer onto the item.
Once your graphic is ready to go, print it using your sublimation printer. For Sawgrass printers, send it to Sawgrass Print Manager and use these settings: Substrate set to Stainless Steel Tumbler or Metal, Paper set to your paper’s profile, leave the Mirror option checked, and change the Color Mode in the Color tab to Photographic or Vivid, depending on the detail of your graphic. Once ready, go ahead and click Print on SPM. With the transfer printed, you may trim the left edge as labeled on the template. Because this edge will be overlapped, we recommend trimming on the inside edge of the graphic, so approximately one millimeter or less is cut off. This will ensure a full wrap of your transfer with no white border showing. But if you’re wrapping the transfer around a 20 ounce SubliCraft tumbler, be sure to also trim the top and bottom of your transfer right on the edge of the image. Then leave about one to two millimeters of clearance on the bottom for a cleaner appearance.
Before turning on your mug press, make sure that the correct attachment is installed first, as well as having it set to medium pressure. For Signature Series machines, you can follow along with these steps: loosen the front two knobs out, then unscrew the four thumbscrews on top of the attachment. Disconnect and slide it out, then you can replace it with the tumbler attachment.
Before screwing the tumbler attachment in place, make sure to match it straight with the right mounting holes on the machine. But once you’ve mounted the attachment, connect its cable to the machine and begin adjusting it to medium pressure. You can begin by turning the front two knobs to the loosest setting, then adjusting the back two knobs accordingly as you test press the tumbler. You can increase pressure on the front knobs if necessary. You should feel slight resistance when closing the machine, though it shouldn't be difficult to close or open.
Once you’ve found medium pressure, take the tumbler out and turn on your machine, setting it to 60 to 90 seconds at 365 degrees Fahrenheit. Once your mug press has reached temperature, slide your tumbler back inside the heating attachment and press it. When the time reaches zero, open your machine and rotate the tumbler to its opposite side using heat resistant gloves, pressing it again for another 60 to 90 seconds. Once the machine is done, go ahead and open the machine to take your tumbler out, placing it somewhere to cool down for a moment. Once cooled, peel the transfer off the tumbler and your skinny tumbler has now been sublimated!
If you’d like to share your customized skinny tumblers with us and a growing community of heat transfer enthusiasts, please join our HeatPressNation Creators Facebook group, at heat.press/FBgroup. Our group also offers a great way to get together with the community for heat transfer help, useful advice, and general fun. But to learn more about sublimation tumblers and the Signature Series mug press, please visit our website at HeatPressNation.com.