How To Create Custom Photo Slates
If you want to take your photo presentation to the next level, this is a video you don’t want to miss. I’ll be showing you how these blank photo slates, made from natural stone, can be customized with your photographs.
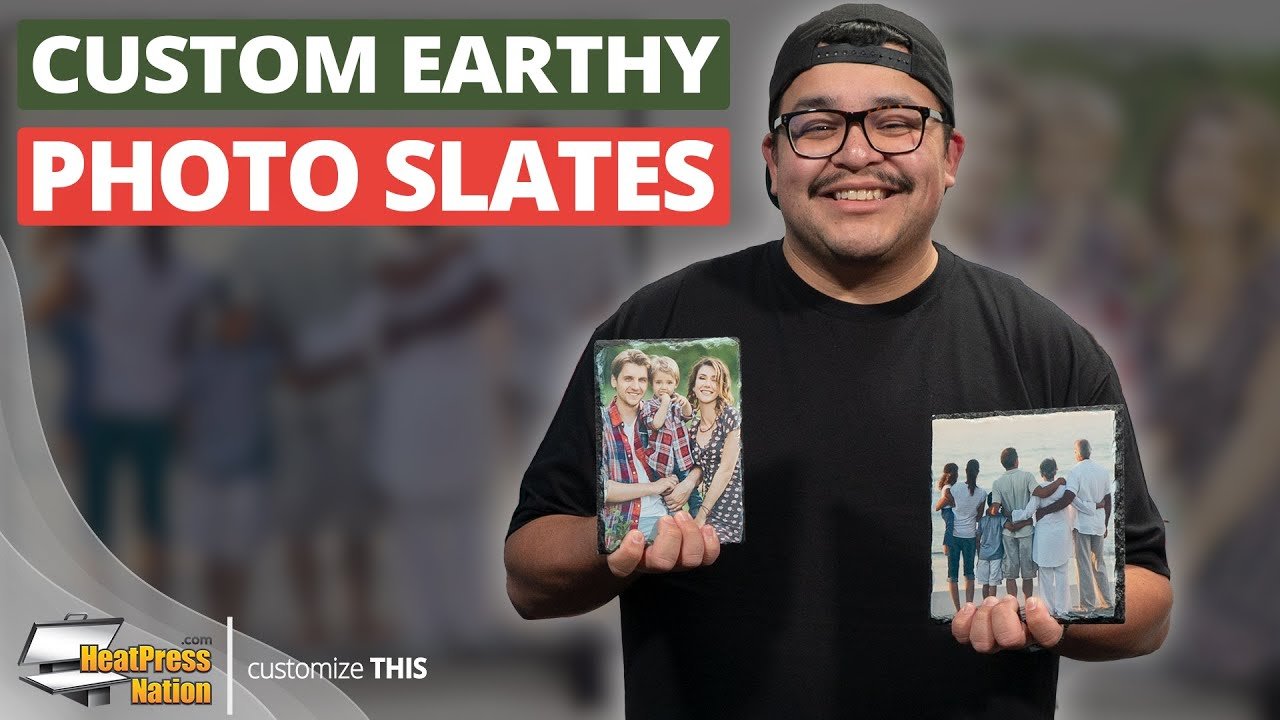
If you feel that your photos could be complemented by a more earthy theme than the usual wood frame, these matte sublimation photo slates offer a unique stone style that look absolutely amazing. These are made completely from natural slate, having a white matte surface with beveled edges. You’ll be able to bring vibrant, full color images onto these photo slates through sublimation. They make for beautiful gifts and are a favorite among professional photographers.
Due to the thick nature of these photo slates however, it’s best to have some heat felt on-hand - such as Geo Knight’s Nomex heat felt. This will make the application process much easier, as heat felt is able to cushion the slate and will help provide consistent heat across the entire item. While we generally recommend using a swing away heat press for photo tiles and slates, we’ll be demonstrating with a clamshell Signature Pro heat press. This is just to show that customizing these slates can still work regardless of your machine’s form factor. But to begin, prepare the image or graphic you’d like to apply onto the slate within the dimensions of the slate.
For the Medium Square and Medium Rectangle photo slates, you can download our templates in the description below to use them with photo editing or graphic design software. By loading one of the templates onto Adobe Illustrator for instance, you can simply import your image, set it under the Bleed layer, select both the Bleed and image layers, right click and Make Clipping Mask. Set the opacity on the imprint and safety areas to 50%, and you’ll have a better idea on how to organize your image and any additional layers within the photo slate.
Once your image is ready, hide the imprint and safety layers if using the template, then you may print it through your sublimation printer. For Sawgrass printers, set it to Sawgrass Print Manager and use these settings: Substrate set to Slate, Paper set to your paper’s profile, leave Mirror checked, and in the Color tab, set the Color Mode to either Photographic or Vivid depending on your image’s level of detail. With these settings ready, go ahead and click the Print button.
Now that our image has been printed, we’re ready to customize our photo slates. Before turning on your machine, it’s best to determine its medium pressure setting as you press the slate with heat resistant felt. Add heat resistant felt on the lower platen, then a blank slate on top, and you can test press and adjust pressure accordingly. If you have a heat press with a removable silicone pad, you may need to take it out if you’re unable to press down. But once you’ve found the right pressure, take the blank slate out then turn on your heat press, setting it to 480 seconds, or 8 minutes, at 400 degrees Fahrenheit.
Once your machine reaches temperature, cover the heat felt with a sheet of parchment paper, then add your printed transfer on top. Now you can bring your photo slate over and place it above the printed image, with the white side facing down towards it. To keep it in place, use strips of heat tape to attach it onto the transfer. Finally, cover everything with another parchment paper sheet and press. After 8 minutes, open your machine and allow the slate’s transfer to cool down for a moment. After it’s cooled, flip the transfer over then quickly peel the transfer from the center and your custom photo slate is now complete!
For any questions, feel free to get in touch with a MyExpert representative at support.heatpressnation.com.
