How To Customize A Magical SubliCraft Mug
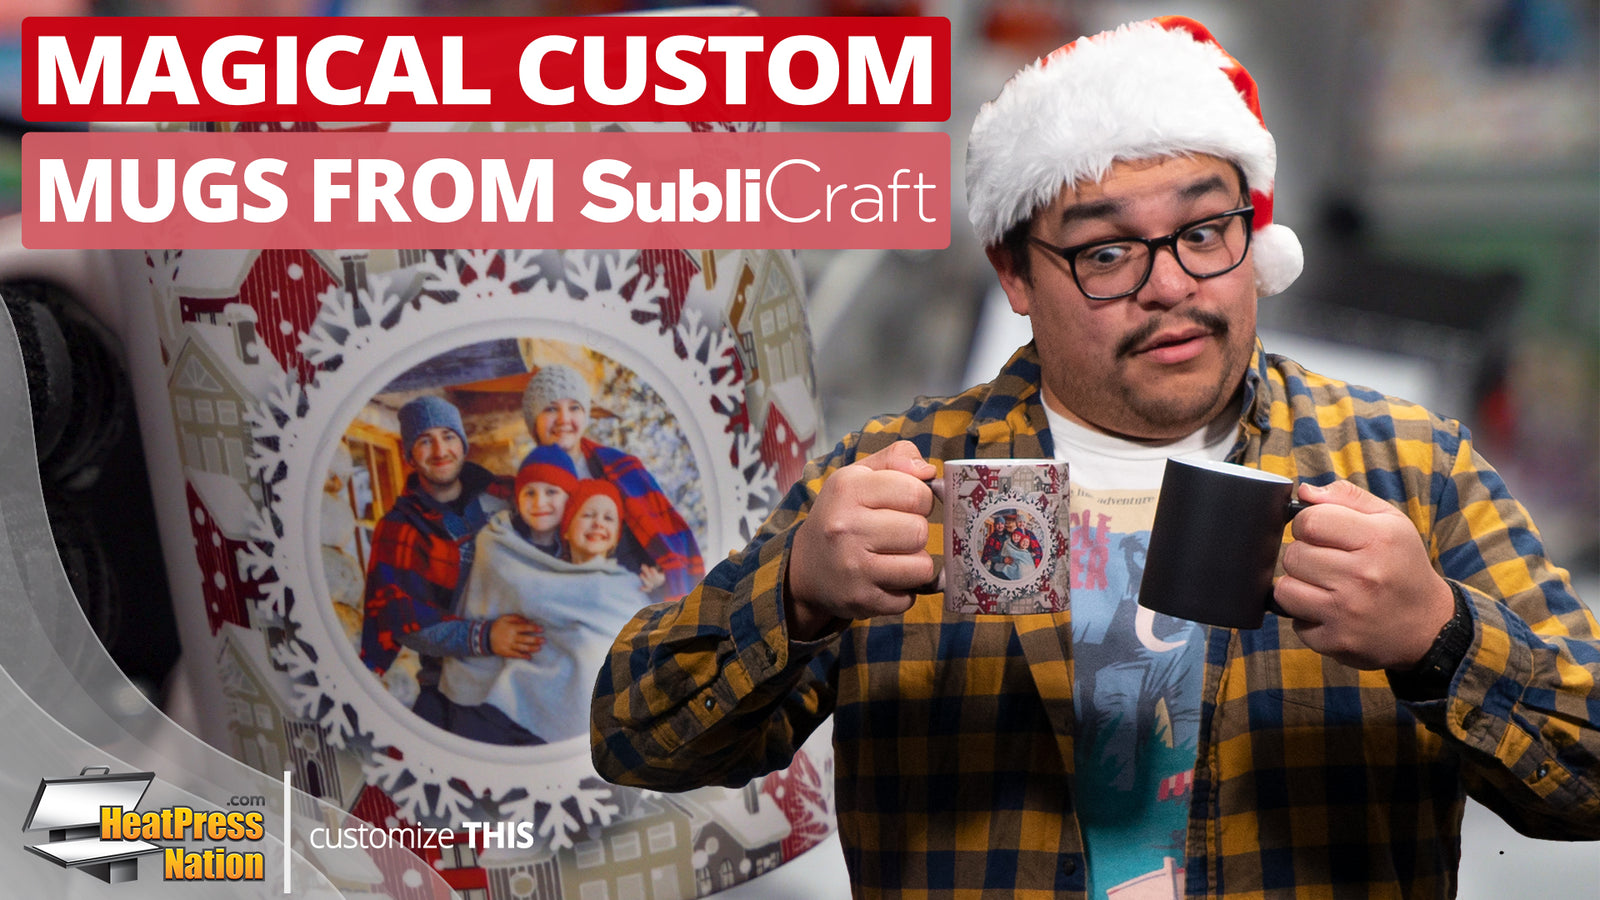
If you’re looking to make a special gift with a memorable image that’s sure to be kept, SubliCraft now offers color changing sublimation mugs that are deceivingly plain. Whether in the matte or gloss finish, the magical dark surface of these mugs reveals a white layer when hot liquid is poured inside it. And since these are sublimation mugs, it’s possible to permanently apply your most cherished pictures, or any festive imagery to this white layer and make a truly personalized gift. Available in both 11 and 15 ounce sizes, the dishwasher and microwave safe SubliCraft color changing sublimation mugs are not only great as gifts, but as well as shop items, party tricks, restaurant drinkware, and many other purposes that will always catch anyone's attention!
Customizing these unique mugs is just as simple as doing so with any other standard sublimation mug. If you’d like a full look on how to customize both 11 and 15 ounce mugs with Sawgrass CreativeStudio, you can watch our sublimation mugs tutorial linked below. But we’ll briefly cover the basics here with the 11 ounce SubliCraft color changing matte mug. The key tools we’re using are Adobe Illustrator, a Sawgrass SG500 sublimation printer, and the HPN Signature Series mug press. First up is to import or create an image, and scale it down to your mug’s imprint area.
To be able to scale your image exactly within your mug’s size, we recommend downloading its template at HeatPressNation.com, which will be broken up into bleed, imprint, and safety layers fitted to its dimensions. By importing your image, scaling it down, and organizing it below the bleed layer, you can set it to clip inside that layer and set all others to 50% opacity. With all this setup, you’ll now have a clear idea as to how your image and additional elements fit in the mug without losing any important details.
To add elements at the center of the mug’s left and right sides, create a 5-inch wide rectangle and center it to the template. With this additional layer, you can use your software’s snapping function or guideline tools to place elements right at its left and right center edges. Once your image is ready to go, you may print it through your sublimation printer. For Sawgrass printers, send it to Sawgrass Print Manager and use these settings: Substrate set to Ceramic Mug, Paper set to your paper’s profile, leave the Mirror option checked, and in the Color tab, set the Color Mode to Photographic or Vivid depending on your image’s level of detail. And with these settings in, you may click Print on SPM. After the transfer’s been printed, trim around the edges of the image, then center, tightly wrap, and heat tape it onto your color changing mug.
With the mug ready to be pressed, this would be the best time to test press and adjust to medium pressure before powering your machine on. After doing so, you may turn on your mug press and set it to 190 seconds at 385 degrees Fahrenheit. As soon as it reaches temperature, you may slide your mug inside the heating element and press it. After 190 seconds, open your machine and take your mug out to cool down for a moment. Once cooled, quickly peel the transfer off and your image should now be applied on the SubliCraft color changing mug’s revealing layer! Any time someone pours a fresh brew of coffee or hot chocolate on this mug, your colorful image will always be revealed like magic.
If you’d like to share your custom color changing mugs with us, alongside a large community of heat transfer and customization enthusiasts, feel free to join our HeatPressNation Creators Facebook group at heat.press/FBgroup. But to learn more about SubliCraft mugs and other sublimation blanks, please visit us at HeatPressNation.com. If you have any questions, you can contact a MyExpert representative at support.heatpressnation.com.


