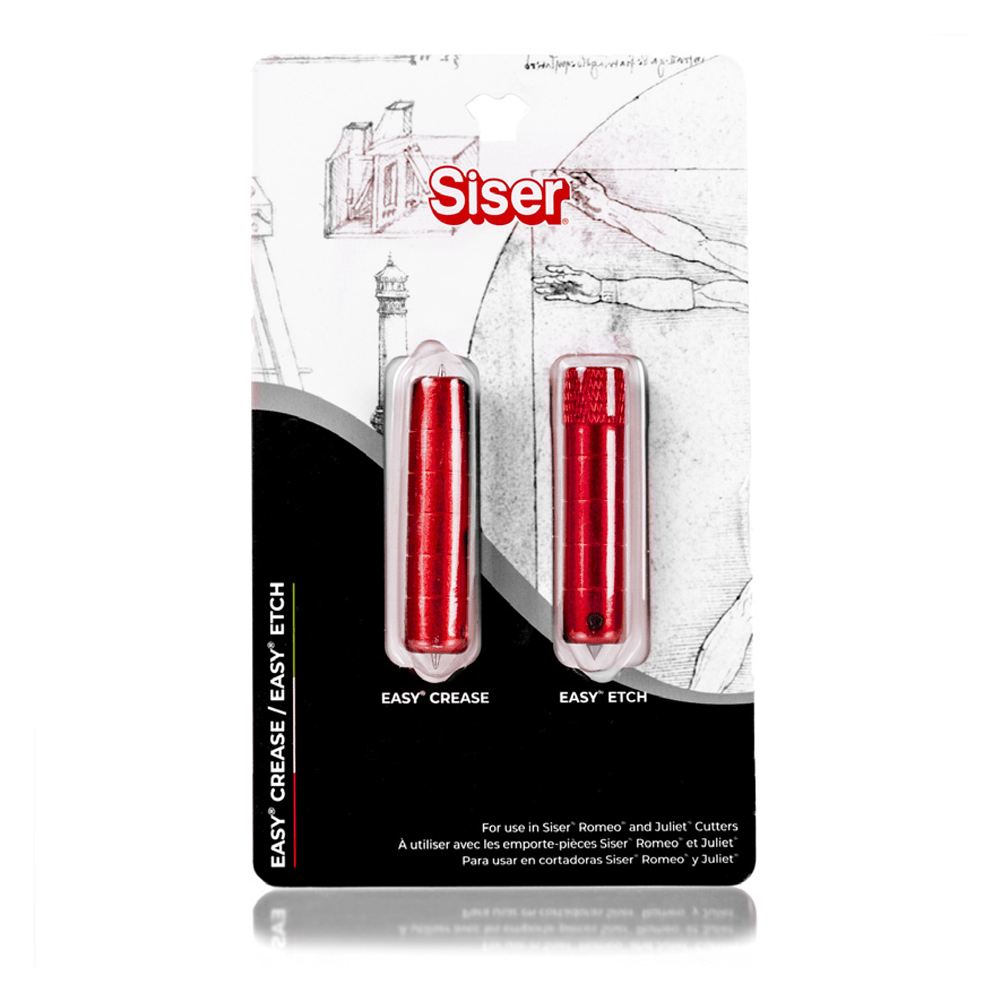
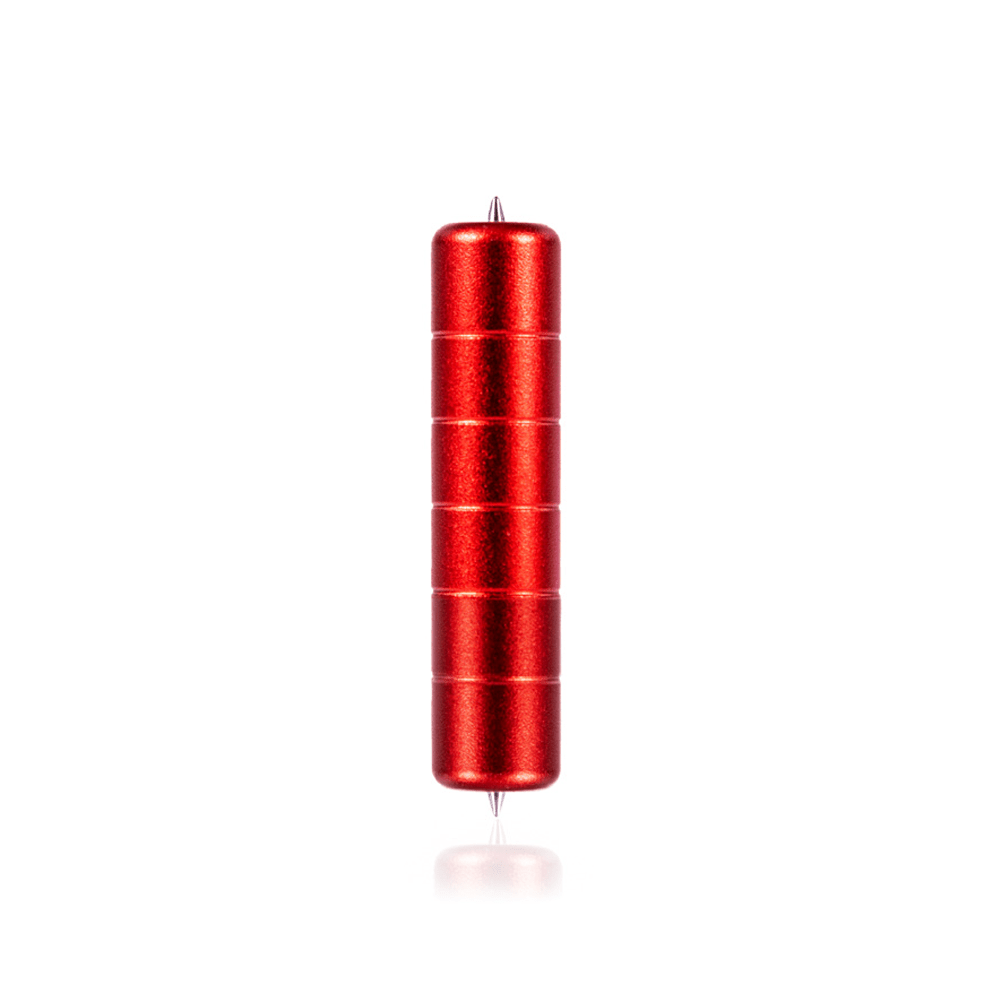
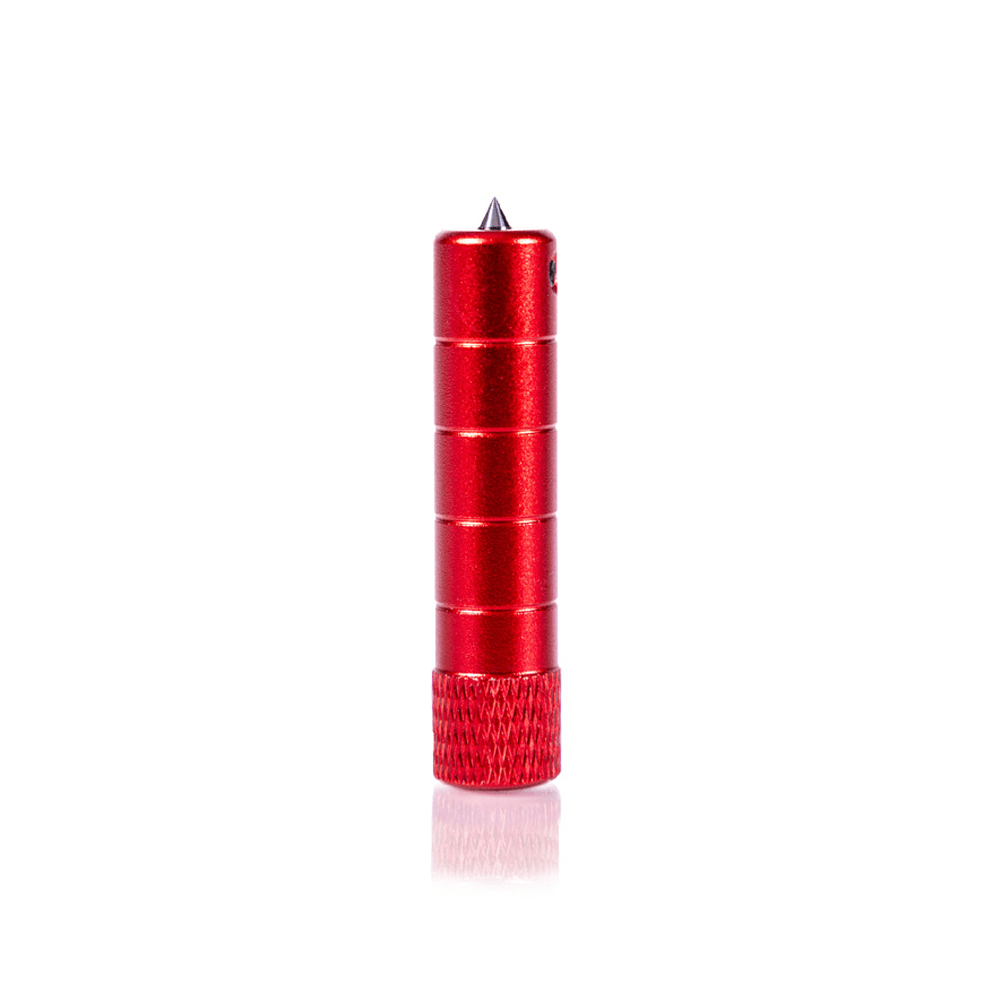
Siser Easy Crease and Easy Etch Tools

Talk to our team of experts to get 1-on-1 personalized information and have your questions answered in real time!

Why Choose HeatPressNation?
With over 15 years of experience, HeatPressNation has established itself as the trusted industry leader in heat transfer solutions, earning the confidence of thousands of satisfied customers.
Thank you for your submission!
We will get back to you soon.

HeatPressNation is proud to be a Siser Authorized Distributor.
The Easy® Crease and Easy® Etch Tools are the perfect way to expand the possibilities of
your Romeo® or Juliet® cutter! Create invitations, cards, boxes, faux flowers, and other
papercrafts with the Easy Crease Tool. Or engrave wood, metal, acrylic, leather, and more
with the Easy Etch Tool.
Easy® Crease Materials
- Paper
- Cardstock
- Cardboard
- Envelopes
- Gift Tags
- Gift Bags
- Boxes
- Photo Albums
- And More
Easy® Etch Materials
- Wood
- Leather
- Faux Leather
- Acrylic
- Vellum
- Aluminum
- Brass
- Stainless Steel
- And More
Loading Material
Place the material on a Light Tack or High Tack Cutting Mat, making sure it is well-
secured. If needed, use tape along the edges to help hold the material down to prevent shifting during creasing or etching. Adjust the pinch rollers on the cutter so that they can
grip the cutting mat, but the material also fits between them. Load the cutting mat into
the cutter.
Installation
Twist the dial counter-clockwise on the Tool Holder to loosen it. Remove the Blade
Housing from the Tool Holder and insert the Easy Crease or Easy Etch Tool with the metal point facing down. Adjust the tool so that the tip sits roughly 3mm above the material. For reference, this is about the thickness of 10 stacked business cards. Twist the dial on the Tool Holder clockwise to tighten it, securing the tool in place. Perform test cuts to dial in the correct settings for your material.
Setting Up Leonardo
Once the design has been created or imported into Leonardo, change the lines from
“Default (Cut)” to the appropriate settings for your tool in the Properties window. Click
Send Design to bring up the preview window and change the Blade Tool setting to the
appropriate tool. When sending multi-tool designs (i.e. cutting cardstock after creasing it), make sure to select “Keep relative positions of each layer” to ensure proper alignment.


